Getting Started
Welcome to Lucive docs! This short guide walks you through downloading, installing, and activating the app.
Download Lucive
After purchase you'll receive a personal download link via e-mail so you can buy on your phone (or other non-Mac device) and install it later. You can also download the latest build from the Success page after checkout if you're on a Mac.
If you're having any problems, just email support@lucive.app!
Install
- Locate the downloaded
.dmgfile. - Double-click to open it.
- Drag Lucive into your Applications folder.
Launching
Open Lucive from Applications. On first launch you may be asked to authorize Lucive to access your macOS Keychain to store your encryption key there. After you enter your Mac password, click Always Allow so you don't have to grant access again.
Once you're in, you should see a page that looks like this:
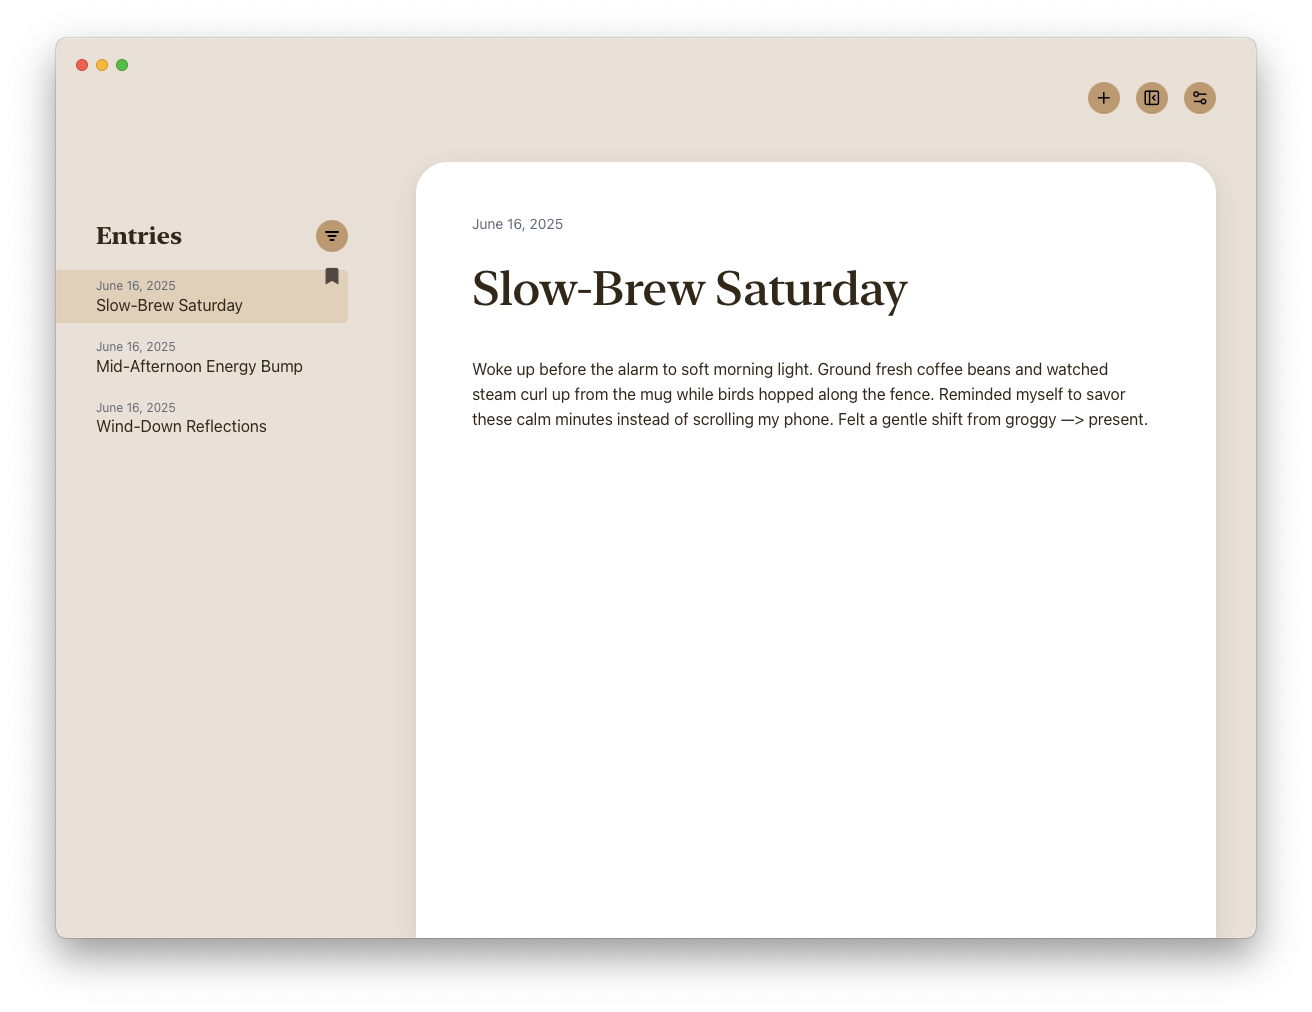
A quick tour
- The "+" button creates a new entry or click the new entry button in the center of the start page. You can also hit Cmd+n.
- The panel-looking button to the right of the "+" lets you collapse or expand the sidebar for more writing room. You can also hit Shift+E.
- The button to the right of that opens the Settings view --this is where you can toggle dark mode on and off as well as export/import/delete your entries. You can also open Settings with Cmd+(comma).
- You can delete individual entries by hovering over the entry item in the sidebar (while it's expanded) and clicking the three vertical dots. That will show a "Delete" option. If you click that, the entry is gone forever. There isn't currently a way to recover it.
- The filter button at the top of the Entries sidebar lets you toggle between ordering the entries by newest or oldest
Exports and imports
Exports
Since your Lucive database is all local to your Mac, you may want to back it up on occasion. To do this, head to Settings and click Export on the bottom. It'll deposit a backup to your Downloads folder on your Mac. We'd recommend taking that and putting it on an external hard drive, or a cloud storage provider if you are so inclined.
The export itself is NOT encrypted so we recommend securing it somewhere safe (e.g. put the file in 1Password). If you're ever worried about your machine getting damaged or stolen and losing access to your entries database in Lucive, it's not a bad idea to go into Keychain Access, look for com.lucive.app and then print or write down the key and store it somewhere safe.
Imports
To import a backup, simply open Lucive, navigate to Settings, and click on the Import button on the bottom. Select the backup file from wherever it is stored on your machine or external hard drive. The importer will automatically de-dupe duplicate entries and show you how many new ones were imported and how many were ignored as duplicates.
Keyboard shortcuts
Window commands
| Shortcut | Action |
|---|---|
| Cmd+Shift+E | Expand/hide sidebar |
| Cmd+Shift+B | Blur/unblur the app |
| Ctrl/Cmd+N | New entry |
Editor commands
| Shortcut | Action |
|---|---|
| Cmd+B | Bold |
| Cmd+I | Italic |
| Cmd+U | Underline |
| Cmd+Shift+8 | Bullet list |
| Cmd+Shift+7 | Numbered list |
| Cmd+Alt+1 | Heading 1 |
| Cmd+Alt+2 | Heading 2 |
Happy writing!